SAML Single Sign-On (SSO) for Okta
SAML Single Sign-On (SSO) for Okta
Overview
Security Assertion Markup Language (SAML) stands as an open standard designed for the exchange of authorization data, facilitating seamless Single Sign-On (SSO) access across various applications through a unified authentication process. Gearbox provides SAML-based SSO integration with multiple service providers. This article will guide you through the configuration steps using Okta.
Upon activation, users can access their accounts through SSO seamlessly.

You must have an active Okta account and Gearbox administrative privileges to complete the below steps.
Supported Features
- SP-initiated SSO
Okta Setup
1. In Okta, Create a new app integration (1) within your account
2. Choose SAML 2.0 (1) as the sign-in method for the integration
3. Add general settings for the Gearbox application, then proceed by clicking Next
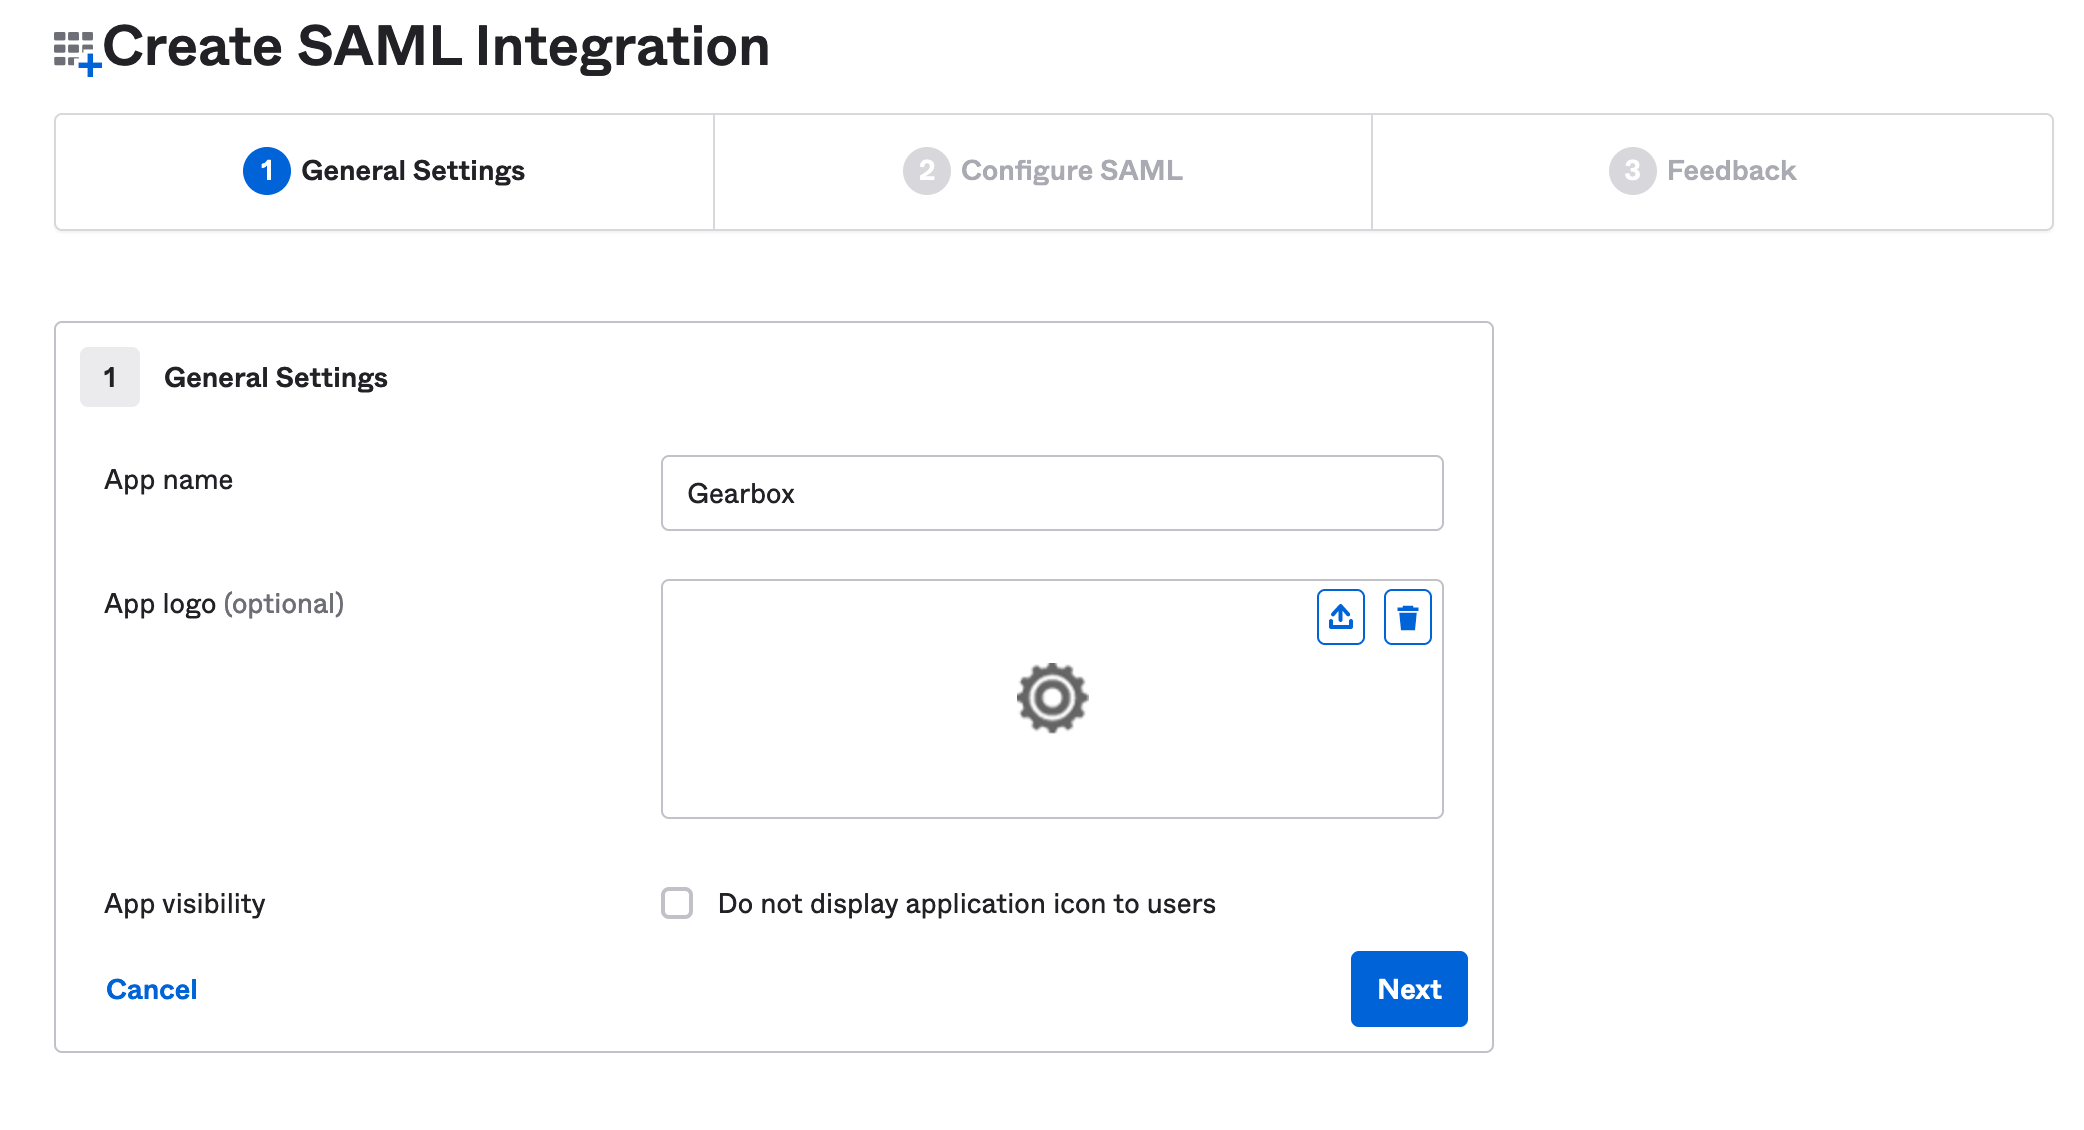 SAML Single Sign-On (SSO) for Okta - SAML Integration
4. To configure the basic SAML settings in Okta, first, ensure that SAML SSO is enabled in Gearbox to retrieve the necessary URLs. Begin by clicking on the User icon (1), followed by selecting Settings (2). Within the Settings page, navigate to Integrations (3)
5. Locate the SAML Single Sign-On (1) panel and click on it to reveal the settings
6. Enable SAML SSO (1) within Gearbox and remember to Save (2) your changes
7. Take note of the Metadata URL (1), Assertion Consumer Service (ACS) URL (2) and download the X.509 Certificate for Gearbox (3). These values will be required for configuring Okta's SAML settings
8. Copy the ACS URL to Okta's SAML Settings Single sign on URL (1) and the metadata URL to setting Audience URI (SP Entity ID) (2). Set the remaining settings (3) and then click Show Advanced Settings (4)
9. Configure the following advanced settings as shown below, uploading the previously downloaded X.509 Certificate (1)
10. Set up attribute statements for First Name and Last Name as per the provided instructions.
11. Click Next and then Finished to save the application settings in Okta.
12. In the new application under the tab Sign on, the SAML setup instructions (1) should appear. Click this button and copy values Identity Provider Single Sign-On URL (1) and X.509 Certificate (2) into Gearbox and click Save (3)
After completing these steps, visiting the Gearbox SSO URL should now connect users via Okta for authentication.
Related Articles
SAML Single Sign-On (SSO) for Active Directory Federation Service (ADFS)
Overview Security Assertion Markup Language (SAML) stands as an open standard designed for the exchange of authorization data, facilitating seamless Single Sign-On (SSO) access across various applications through a unified authentication process. ...SAML Single Sign-On (SSO) for Microsoft's Azure Active Directory (Azure AD)
Overview Security Assertion Markup Language (SAML) stands as an open standard designed for the exchange of authorization data, facilitating seamless Single Sign-On (SSO) access across various applications through a unified authentication process. ...Netcorp Integration
Overview Gearbox seamlessly integrates with Netcorp via API every night to retrieve odometer and hourmeter readings. These readings play a crucial role in Gearbox for calculating Services Due and tracking running costs per hour/kilometre. Automatic ...Create Prestart Records (Manually)
Overview For customers that wish to upload paper-based Prestart checklists, these can be uploaded by creating Prestart records. Please see steps outlined below. The Documents module must be active on your subscription to upload documents. The delete ...John Deere Integration
Overview Gearbox seamlessly integrates with John Deere via API every night to retrieve odometer and hourmeter readings. These readings play a crucial role in Gearbox for calculating Services Due and tracking running costs per hour/kilometer. ...